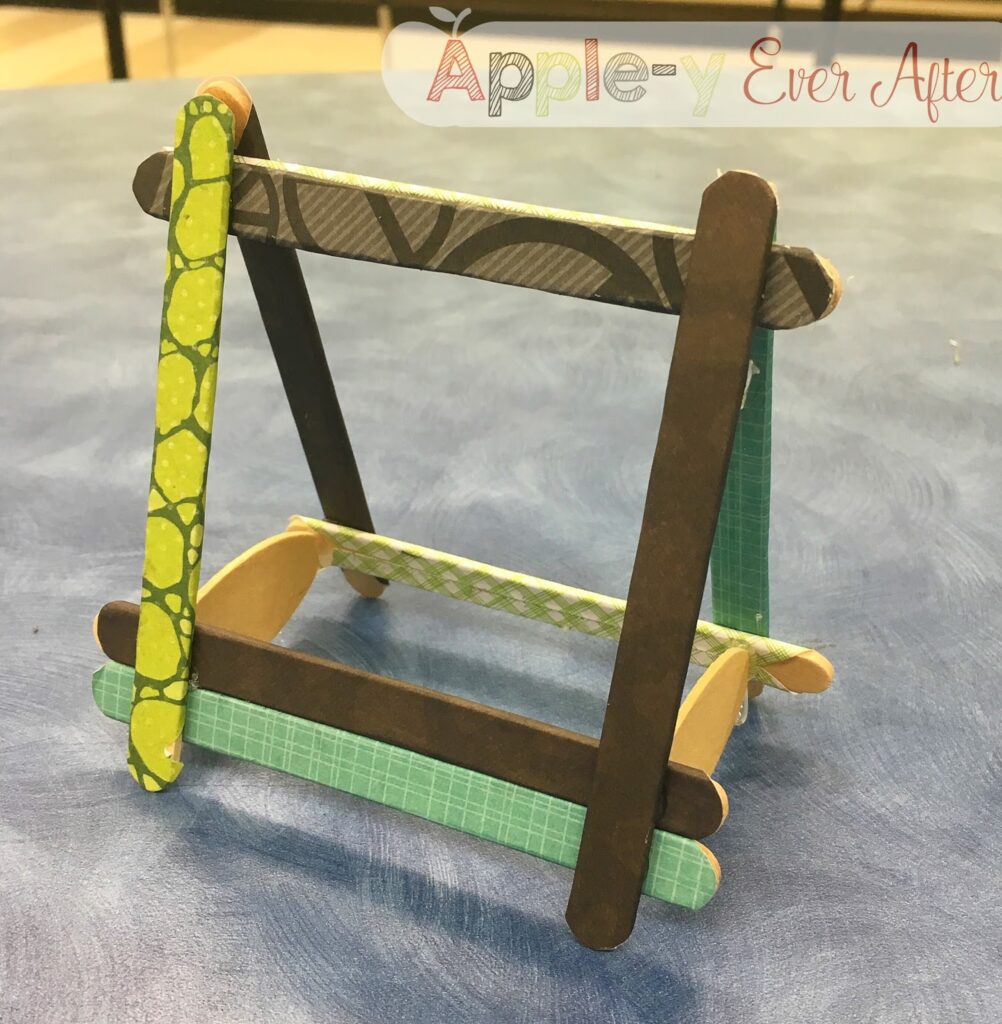
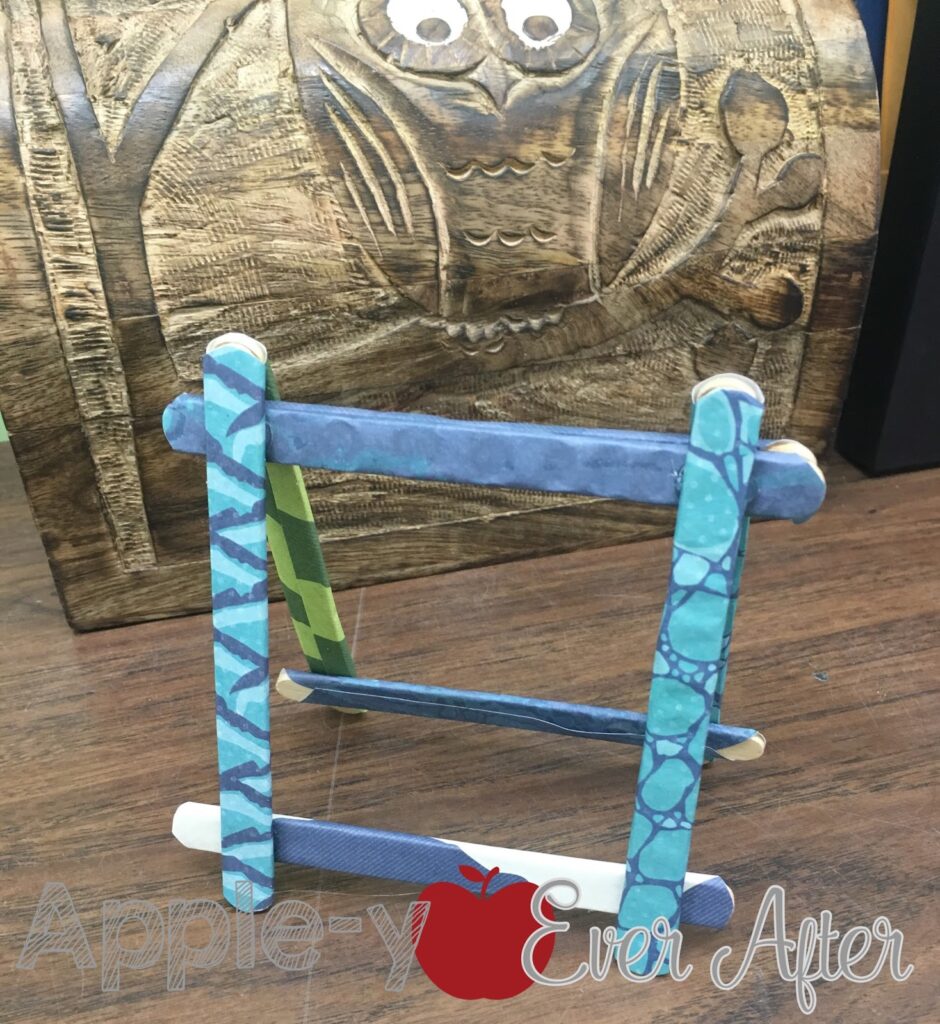
So, I needed to make something else to go along with my Father’s Day Magazines. I decided that a picture frame would be great. I saw some really cute designs on pinterest, and I didn’t quite know how to recreate them, so I played with the idea during my prep. This is what I came up with!
I love how they turned out!
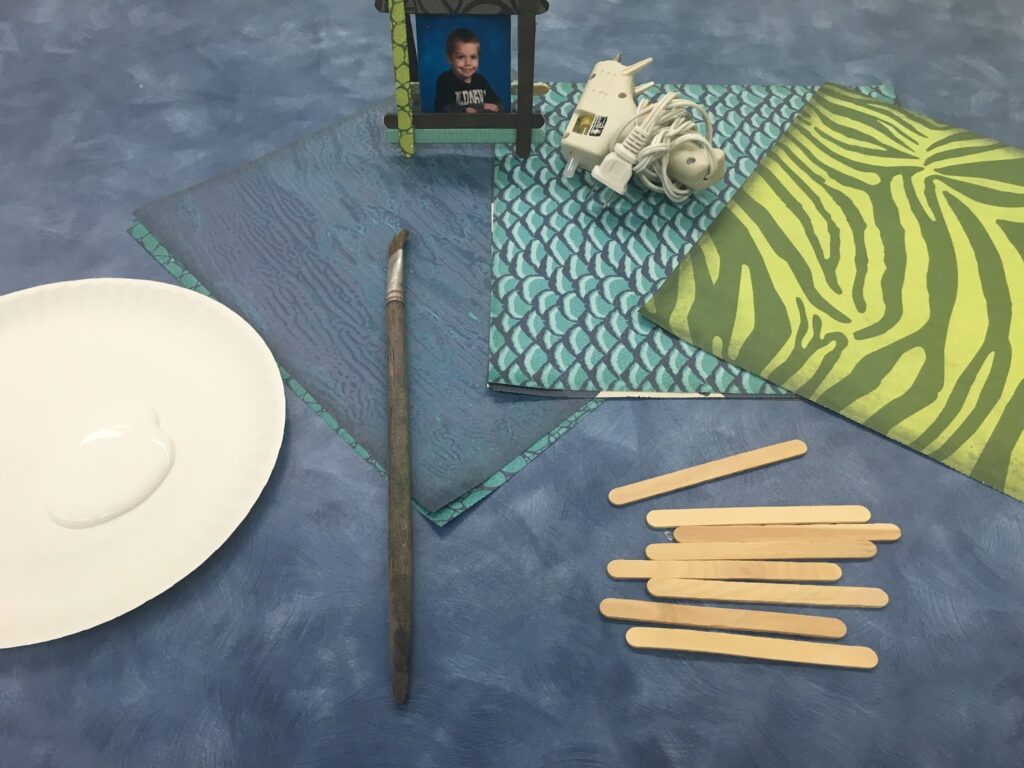
Materials:
Popsicle Sticks
Scrapbook Paper (I used manly designs for Father’s Day)
White Liquid Glue
Hot Glue Gun
Step 1: You will need 8+ popsicle sticks for each frame.
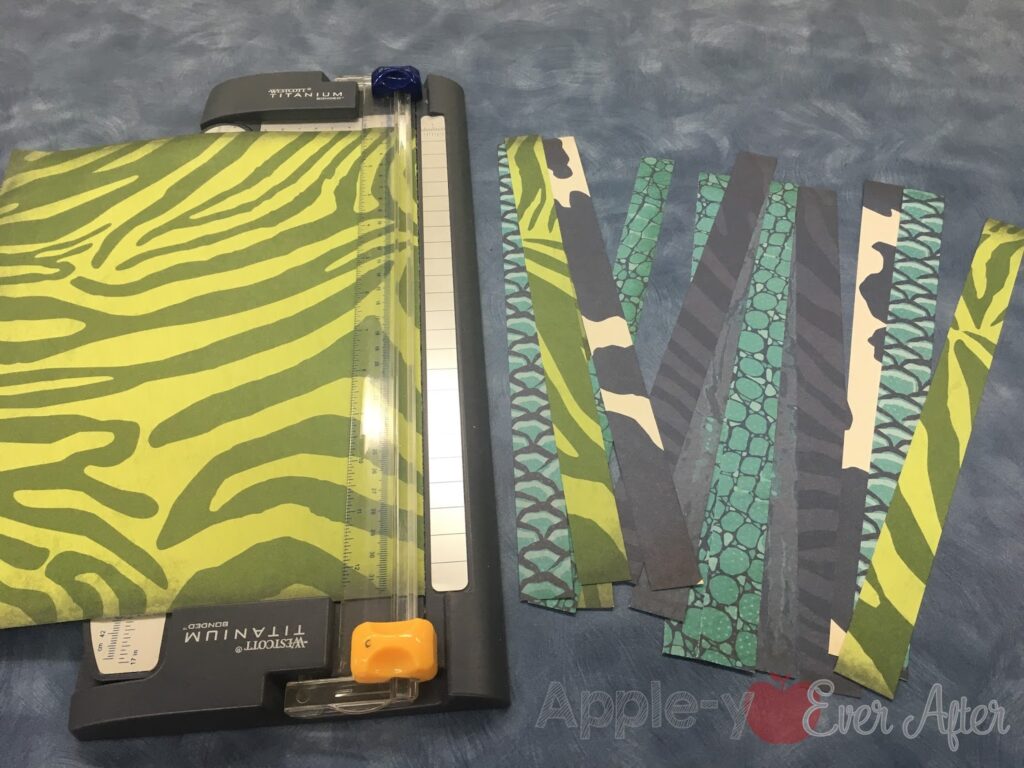
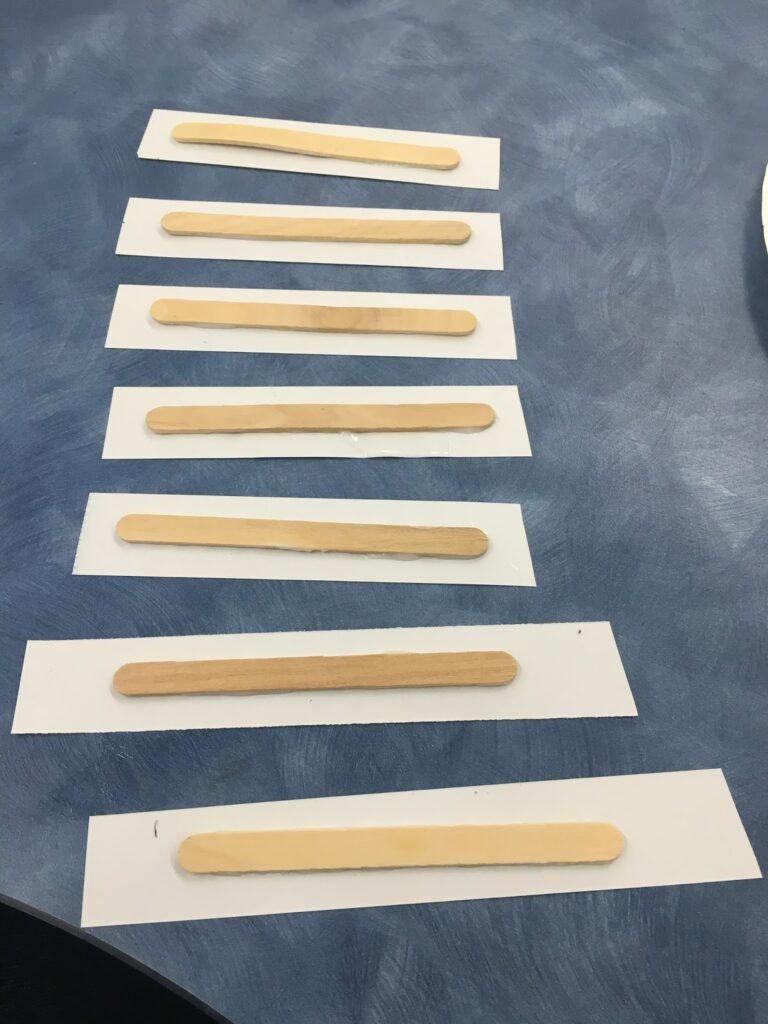
Step 2: Choose a paper design – I used regular 12″x12″ scrapbook paper for this since I have a large supply. I cut them in strips about 1″ wide.
Step 3: Allow students to choose their paper styles.
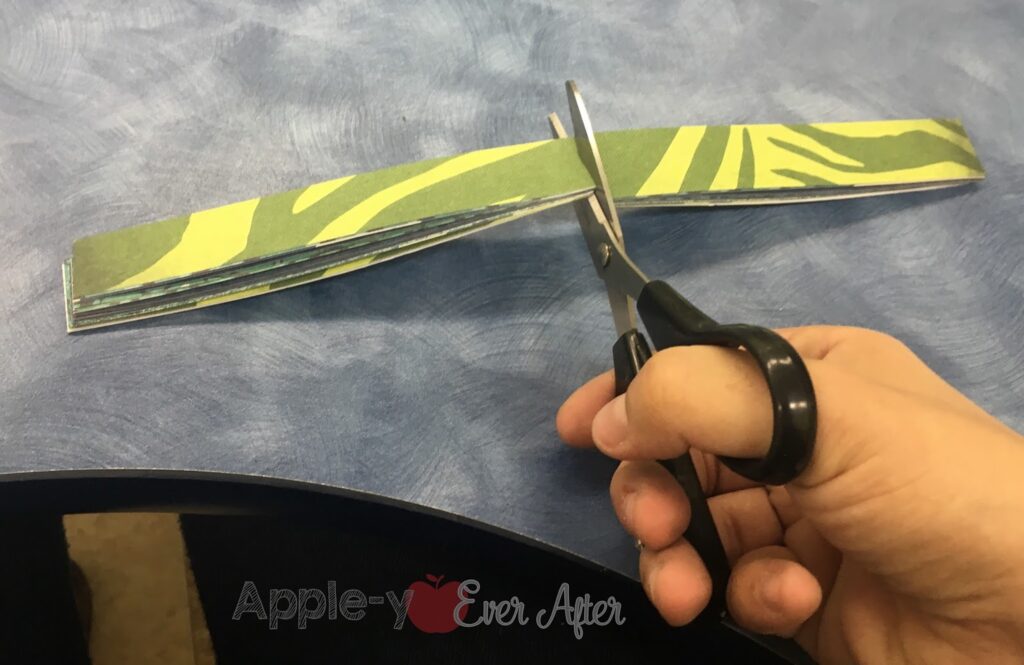
Step 4: Have students cut the paper strips in ½.
Step 5: Use your paint brush to paint the white glue onto the popsicle sticks. Glue them down to the white side of the paper.
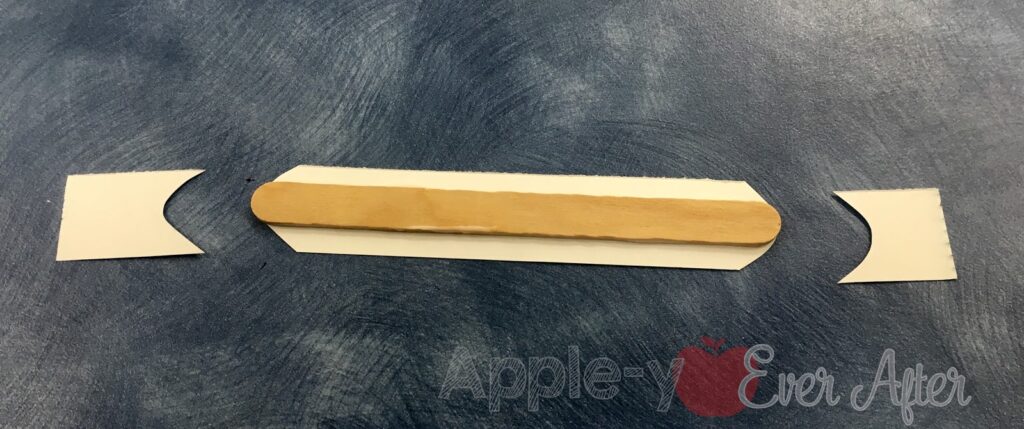
Step 6: Cut a U shape on the paper around the ends of the popsicle sticks.
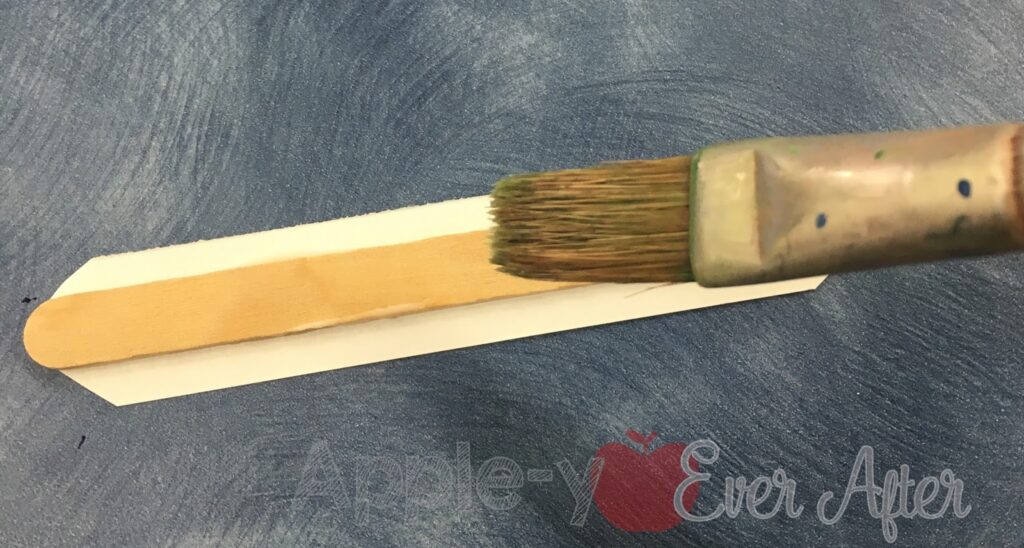
Step 7: Paint more glue onto this side of the popsicle stick. It’s ok if you get it on the paper.
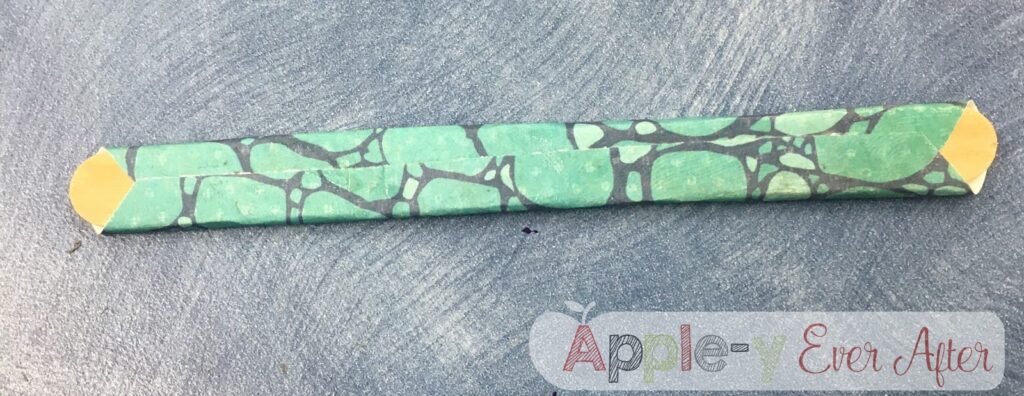
Step 8: Fold the edges of the paper over.
Step 9: Repeat step 8 with all the popsicle sticks.
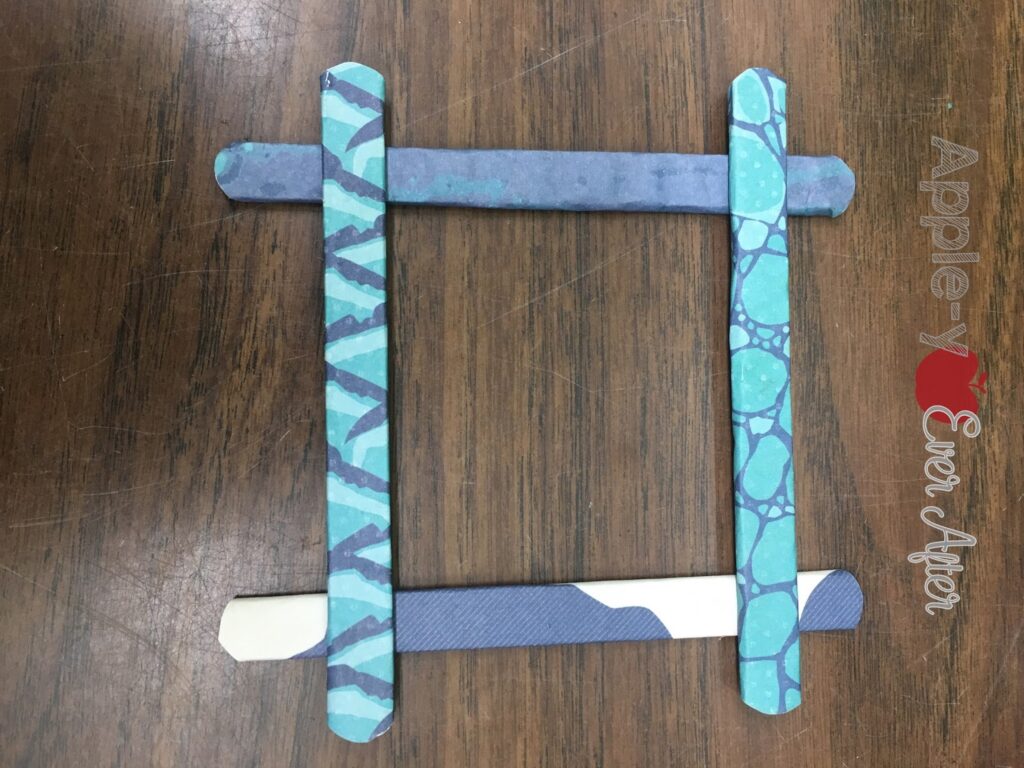
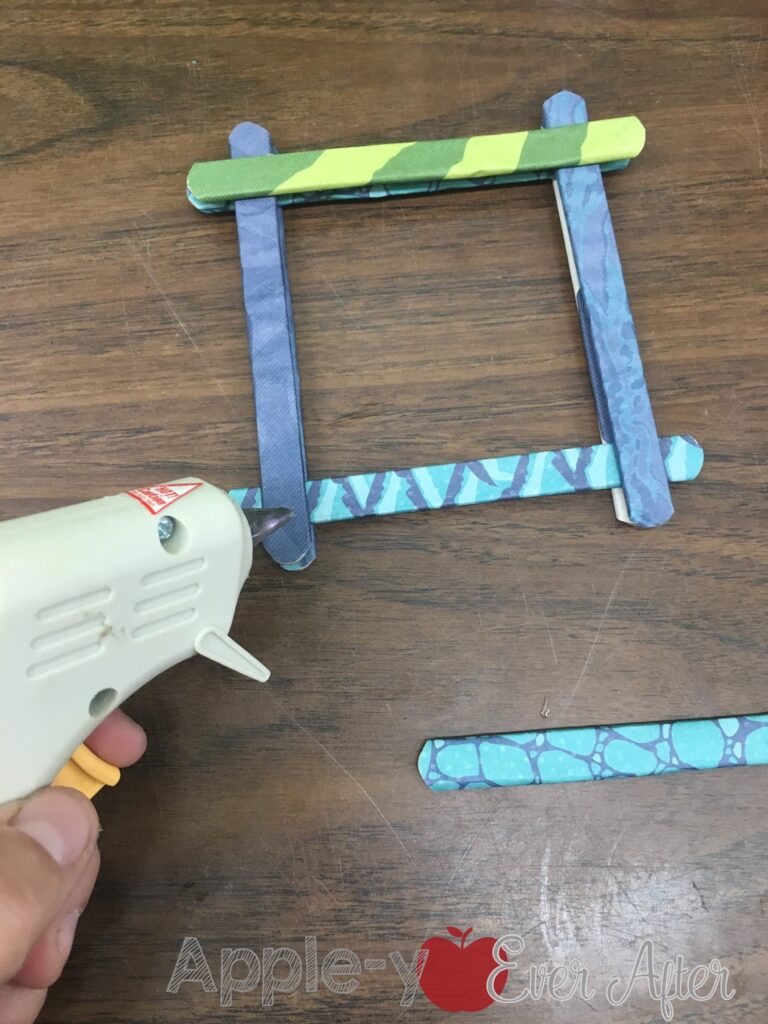
Step 10: Line up your popsicle sticks into this pattern and hot glue together. You could do this with white glue if you have extra time. I was running short on time, so I did this with the hot glue gun.
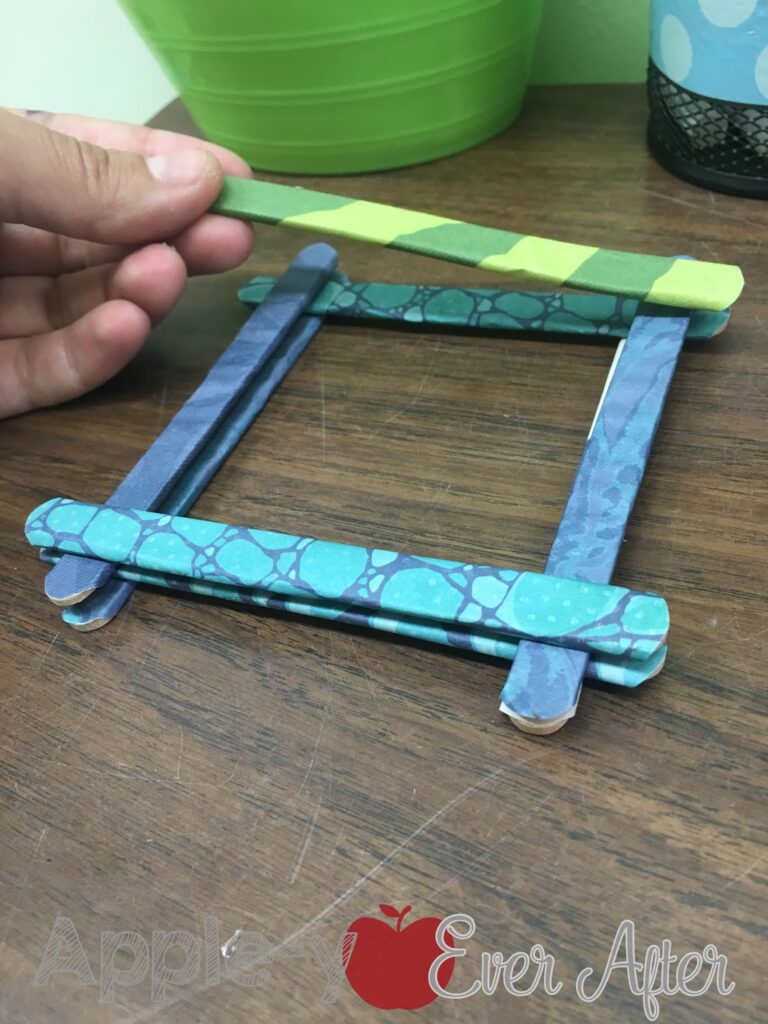
Step 11: lay the other side on top to mimic the exact placement of the first set. Do not glue this side to the first one – Just use it for a template of the layout. Hot glue these sticks together so that you have 2 exact same patterns.
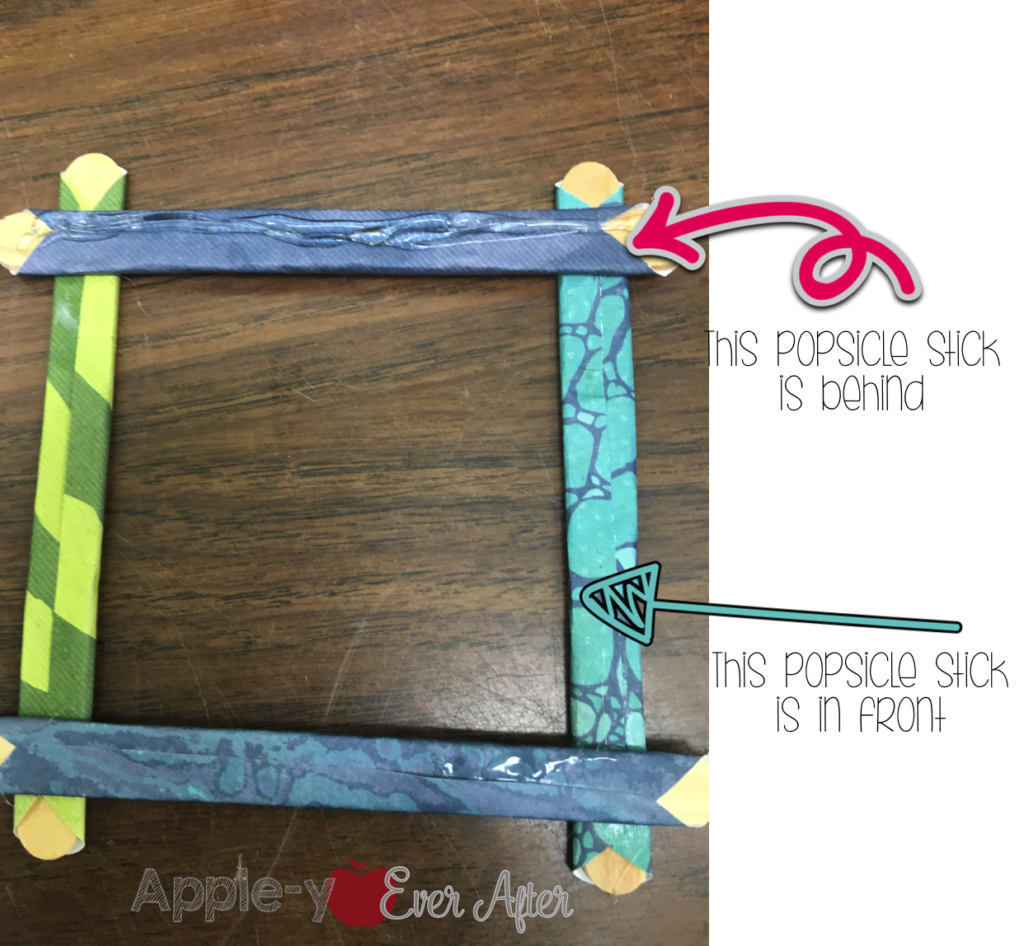
Step 12: Use your hot glue gun to make a strip of glue at the top of the frame **Make sure that the popsicle stick is glued onto the back of the frame like the one with the pink arrow below.
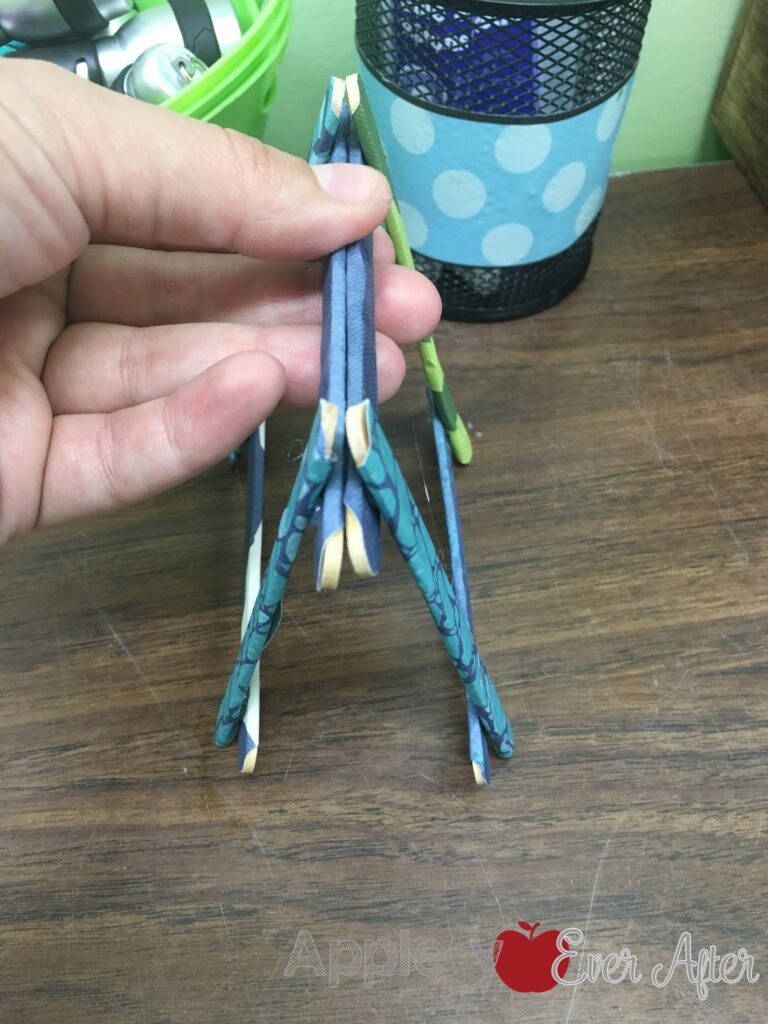
Step 13: Hold the 2 frames together.
Voila! Add your picture and you have your custom frame 🙂
I hope you like this tutorial and that you can use it for many projects to come!
