How to make your Guided Math Game Envelopes
Needs:
Manilla Envelope
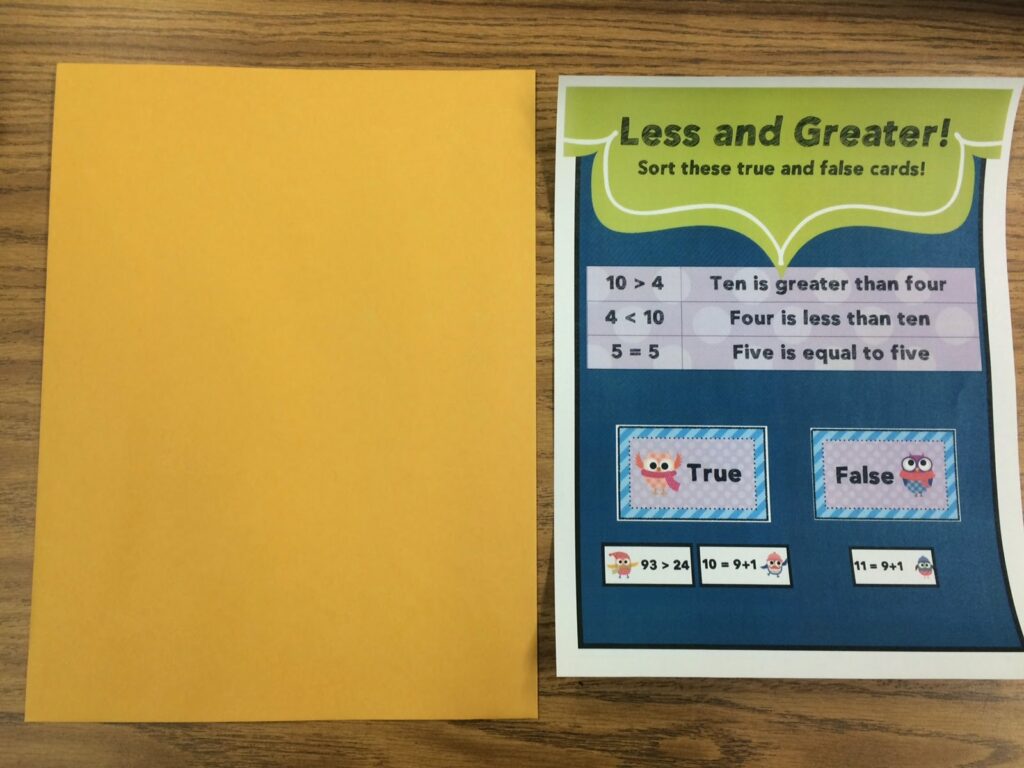
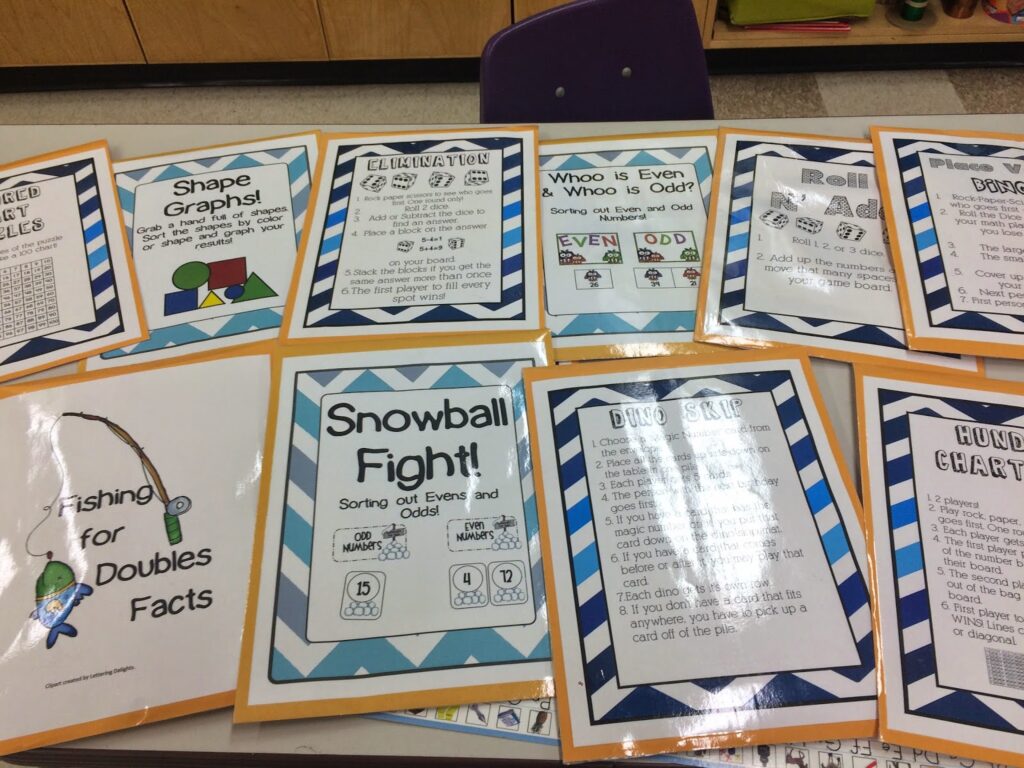
Math Game Cover Page/Rules (A game like this one)
Glue Stick or ATG
Laminator
Velcro Dots
Math Labels (Click to download – Free!)
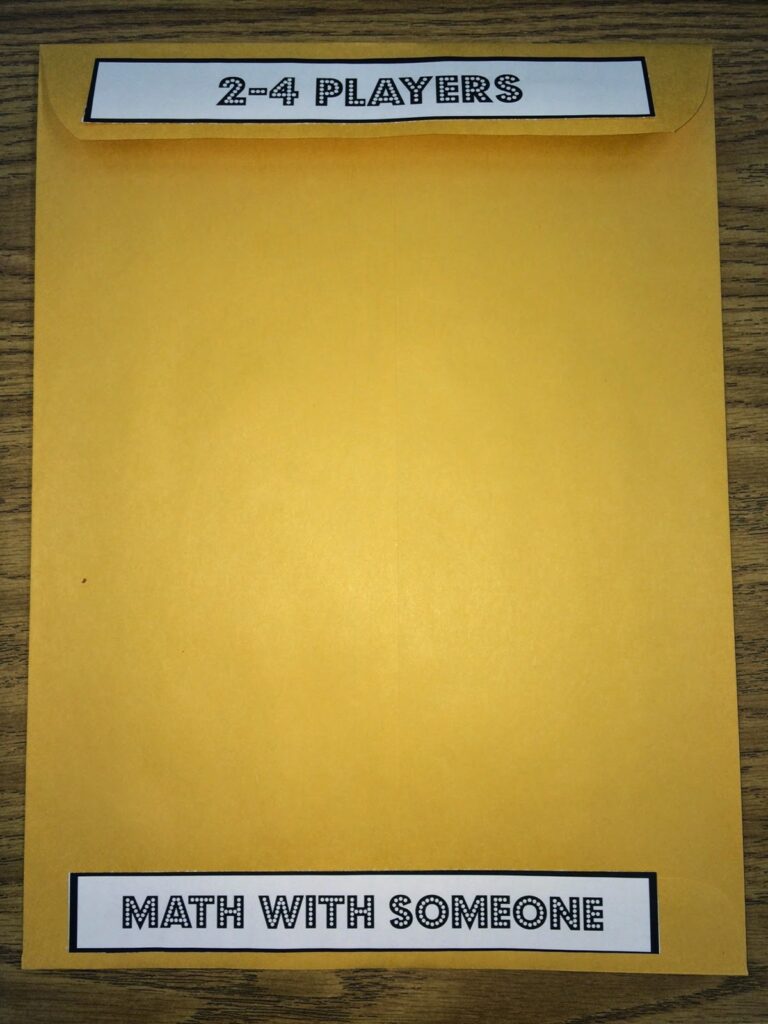
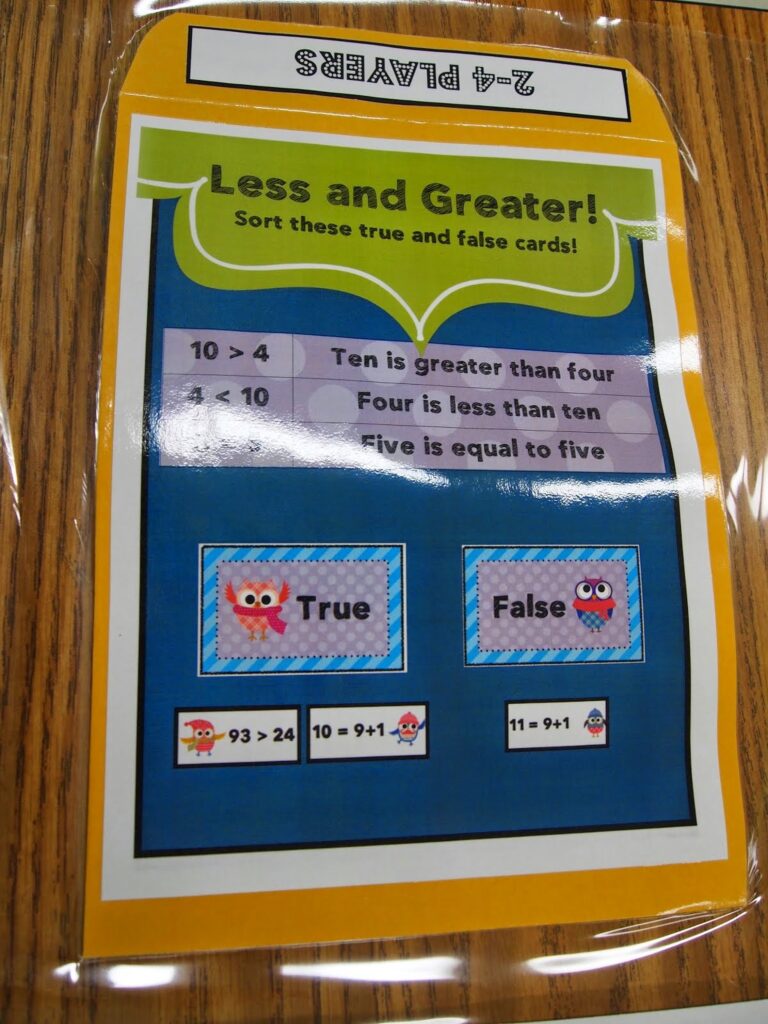
1. Print off your Game Header & glue to the front of your envelope.
2. Decide how many players you want this game to have or use the suggested players from the game you are using. Glue this onto the top flap of your game.
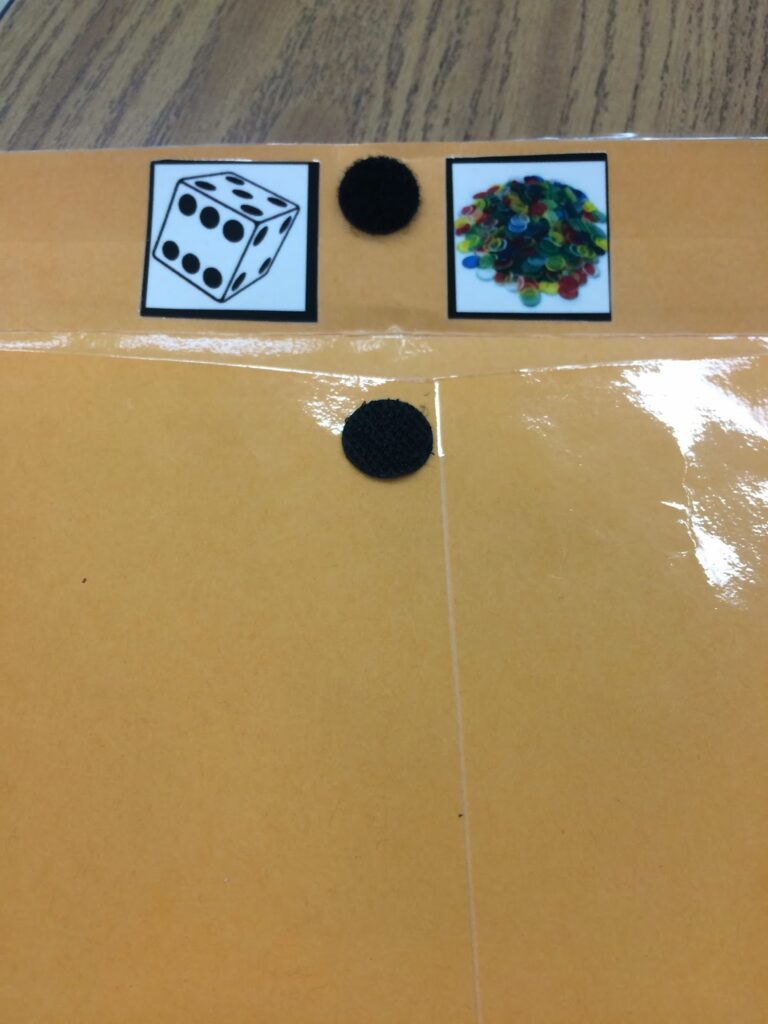
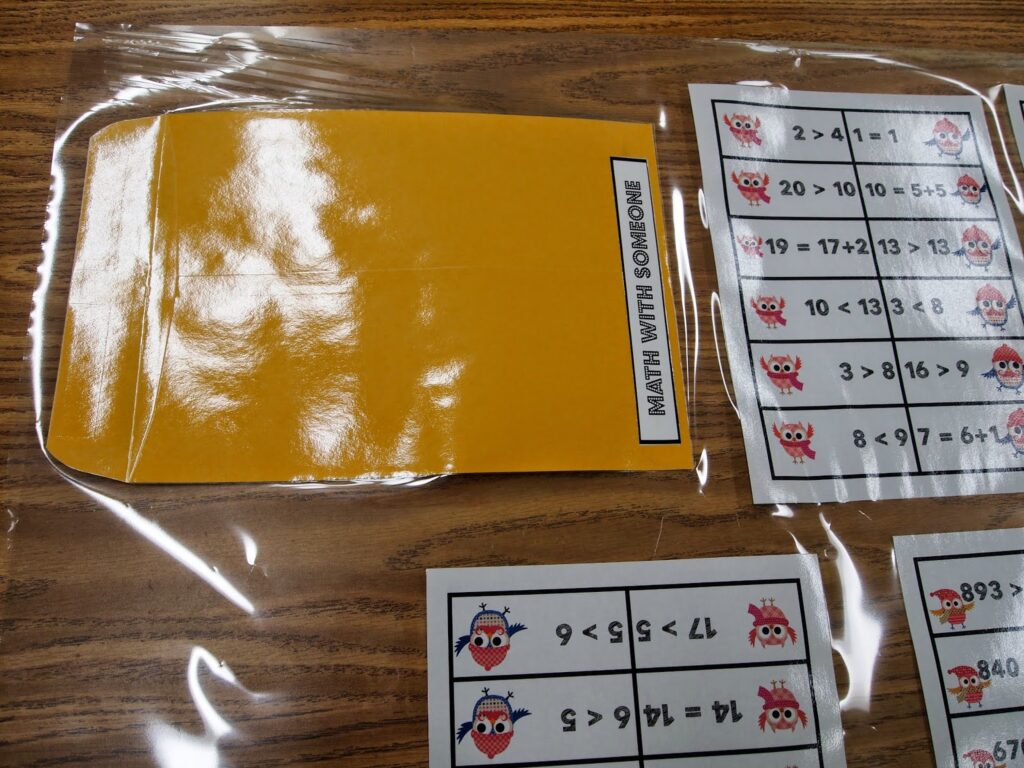
3. Decide what materials your students will need to use. Cut these out and glue them under the flap on the envelope. These prevent students from asking “what do I need for this game?”
These can also be downloaded from the link above.
These can also be downloaded from the link above.
4. Glue any instructions or extra items student may need at hand onto the back
(hundred chart for a 100 chart game – to reference)
(hundred chart for a 100 chart game – to reference)
5. Laminate – make sure the flap is up – not folded over!
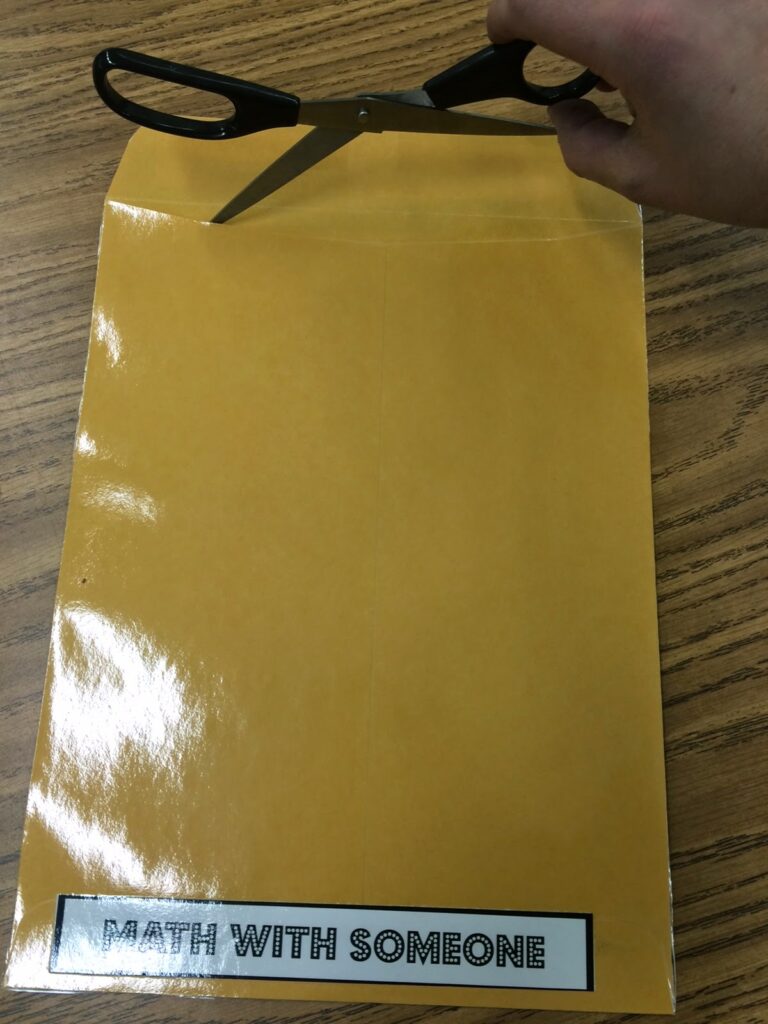
6. Use Scissors to slit the seal open
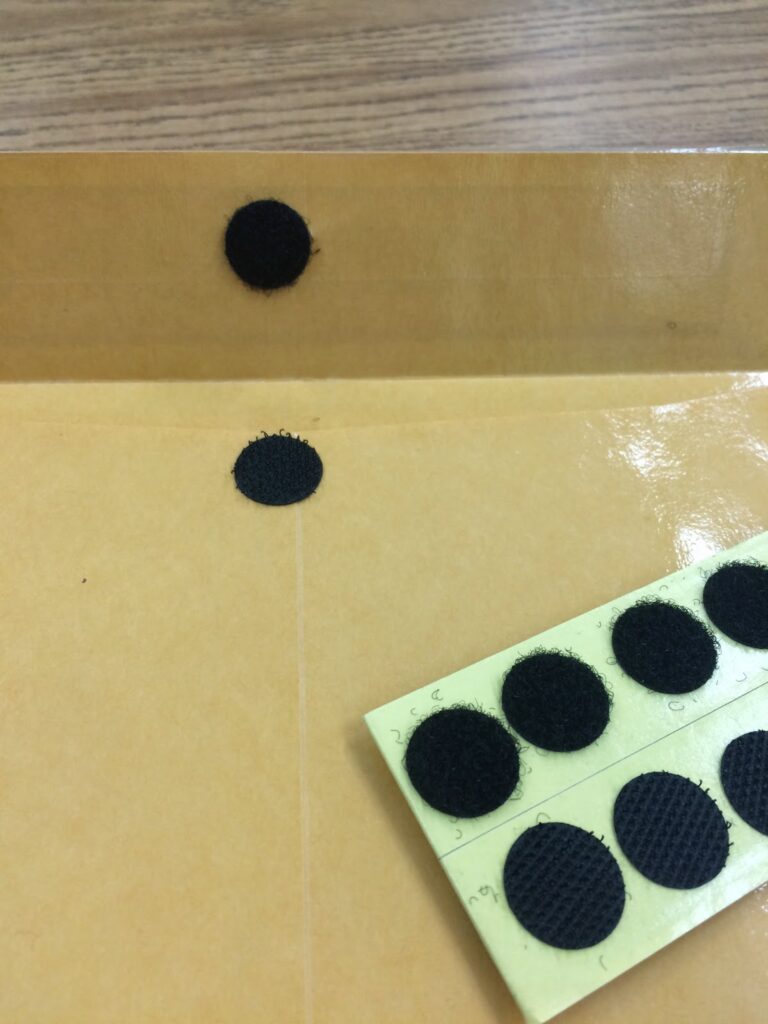
7. Add velcro dots to the flap of the envelope to keep it closed and prevent you from losing game pieces. I purchased mine for $1.00 (for 16 sets) at my local dollar store.
8. Add game to the envelope and VOILA!




2 Comments
Love this organization!! I've been thinking of putting all my centres into envelopes… right now they are a big mismatch of baggies and boxes and who-knows-what! I like the idea of putting the supplies needed images under the flap too. Perfect for first graders who can't read. Thanks for sharing!
Amanda
First Grade Garden
I'm so happy to hear your feedback! I truly must say that the pictures work wonders. Even for my struggling readers in grade 2. It saves a lot of time, especially if you mark the bins with the same pictures so they know exactly what to grab! 🙂