Hello everyone!
I Had such a good day at school. Partly because my kids were excellent, and partly because we did REALLY FUN REINDEER ART!
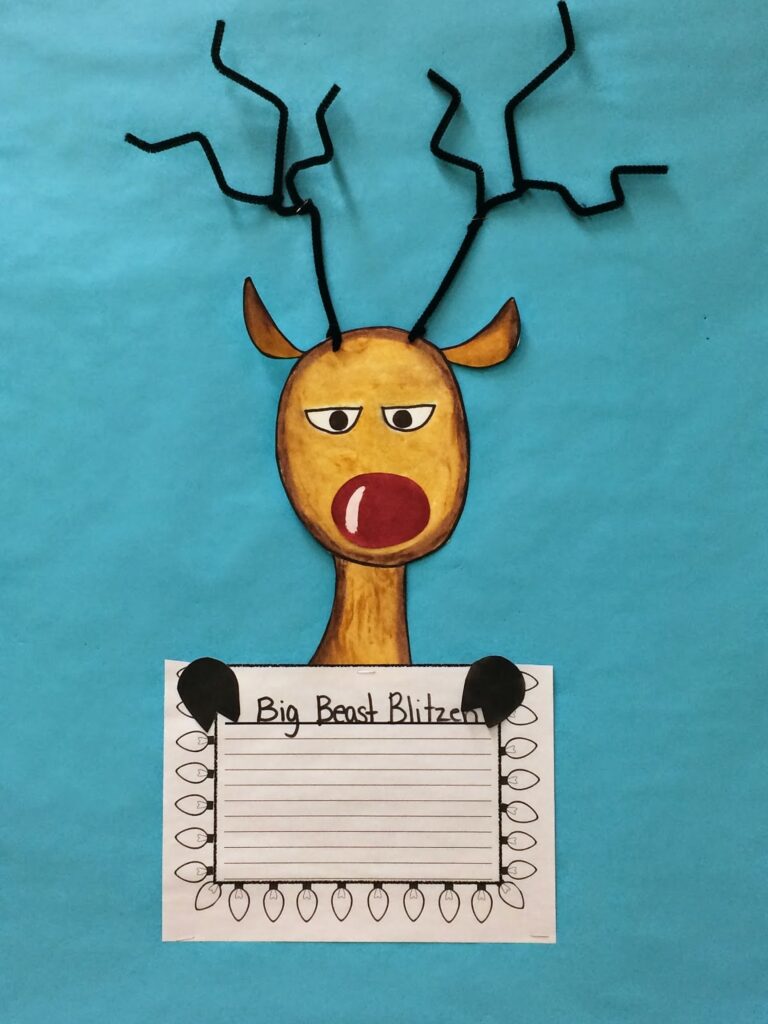
Here is my finished project!
We began by making our art. Usually I do my writing first, and art second, but today we had art scheduled and so I took my time to very carefully plan whipped up this art lesson really quickly on my recess break.
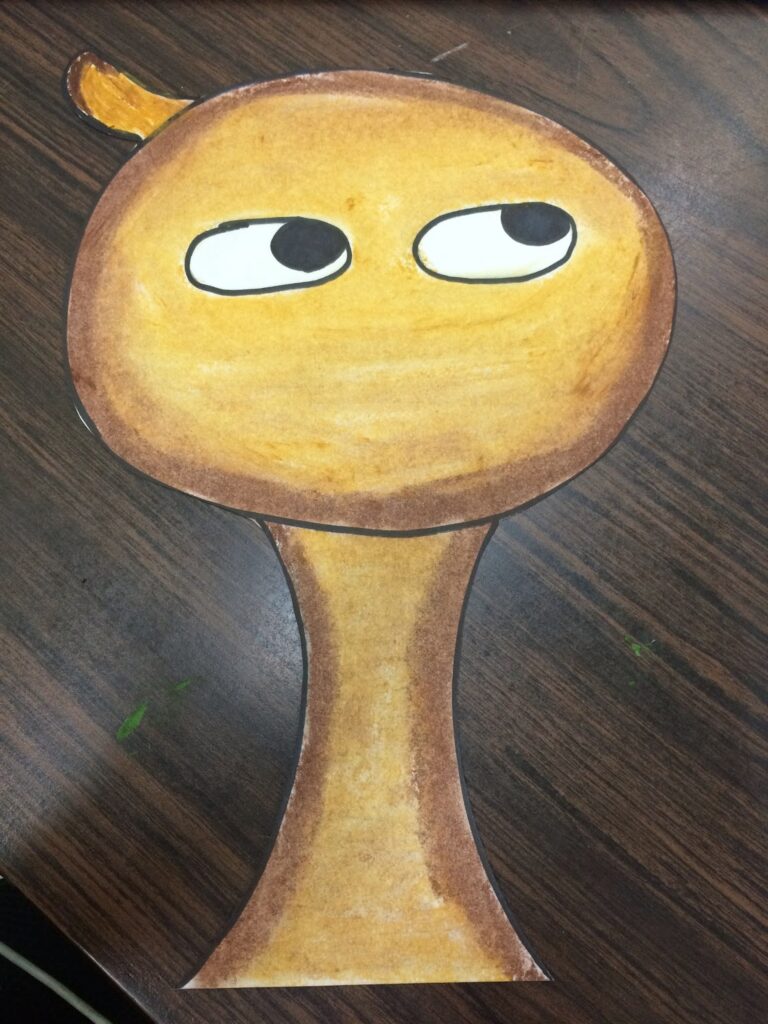
Here he is. Big Beast Blitzen. What’s the crime? Well, keep reading to find out.
Now. On to my Art lesson.
Step 1
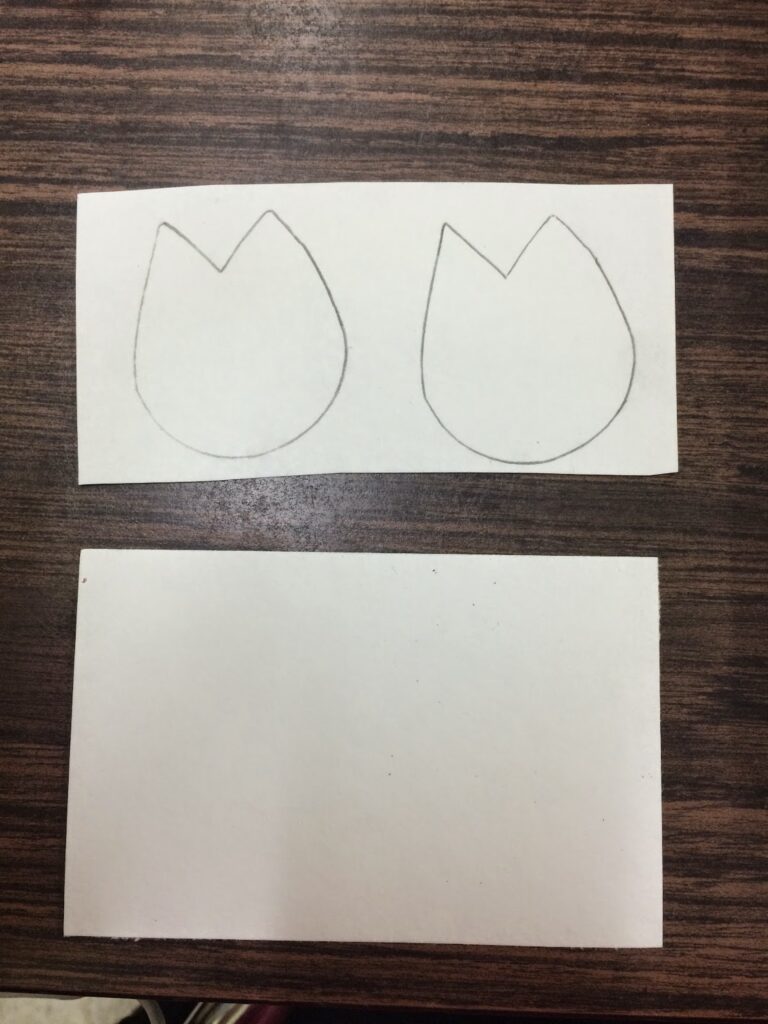
Give students a small rectangle of thick paper and a paper with an outline of 2 hooves. Have students draw out a large nose on the blank paper.
Step 2
Using watercolour paint, have students paint their hooves (black) and nose (red or black). Set aside to dry.
Step 3
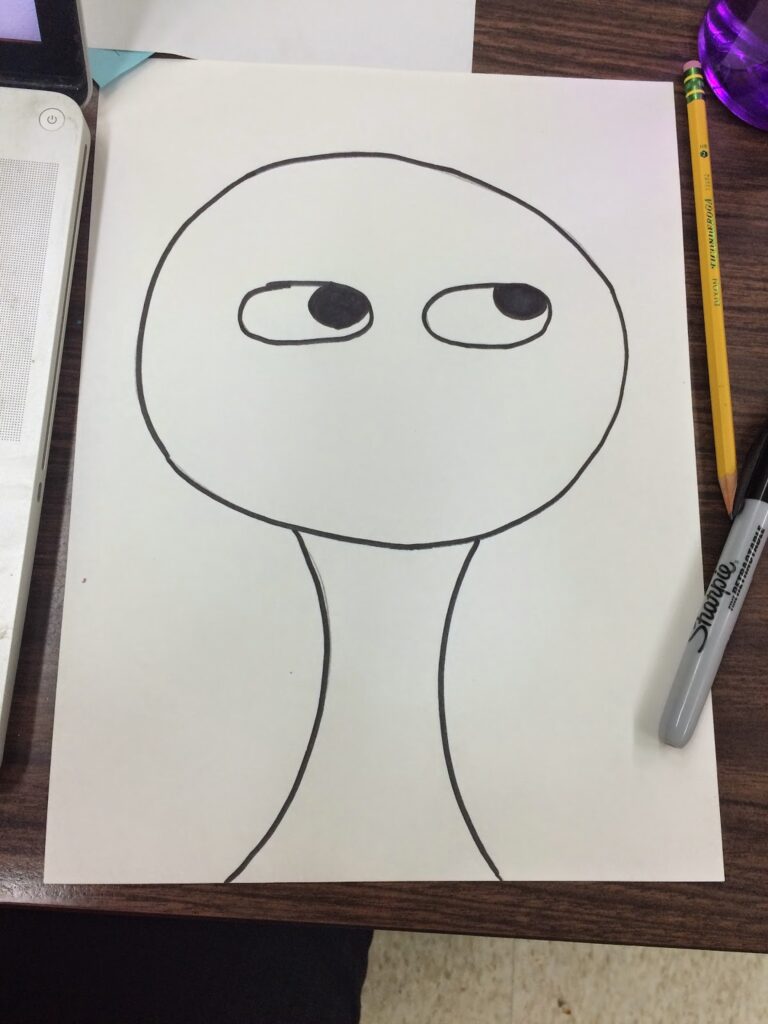
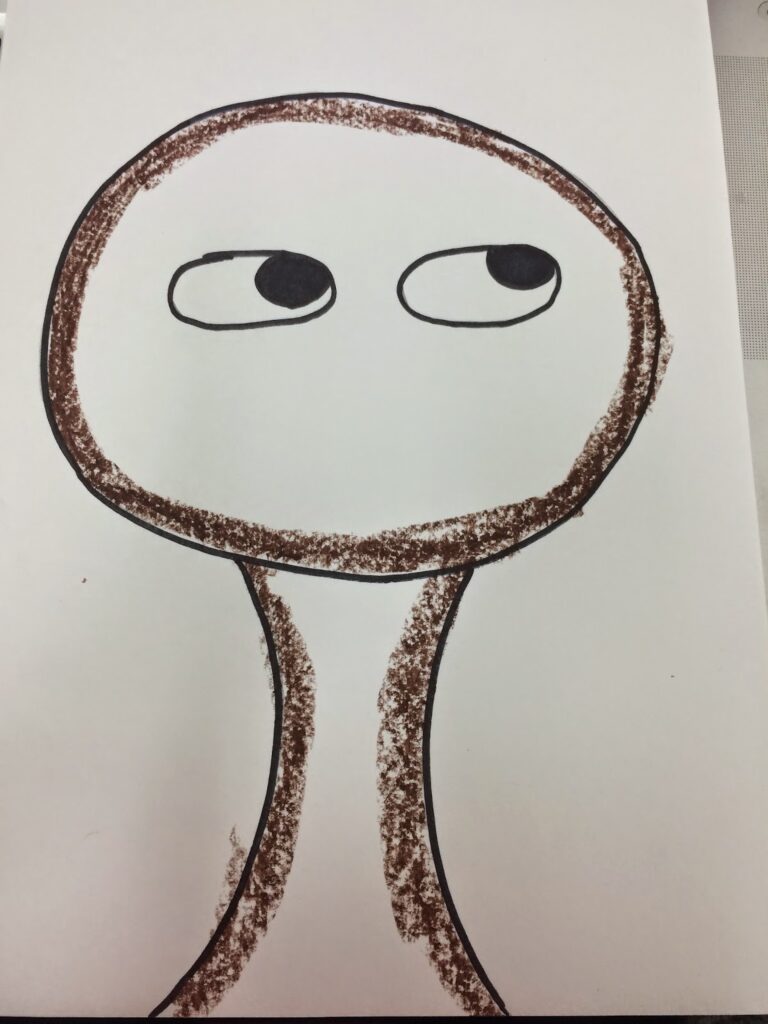
Have students draw out their reindeer onto a piece of thick paper (card stock works well). Draw lightly a large oval-ish head, and a long sorta skinny neck and some ears.
Step 4
Outline your reindeer with a black sharpie marker (eyes, ears, everything!)
*we had a long discussion before on how to use these markers properly*
Don’t forget the ears.. Like I just did.. Sigh.
Step 5
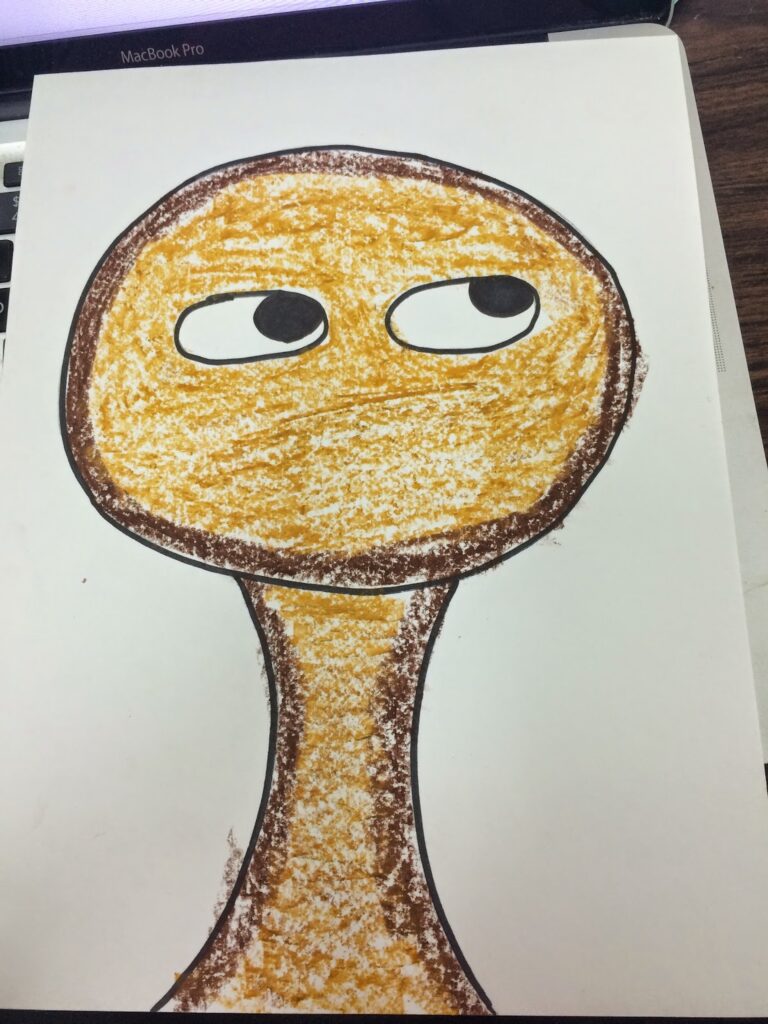
Choose 2 brown pastels. One dark and one light.
Colour in the dark all around the black lines.
and the light on the inside. You don’t want to go too light, but don’t strain your wrist when you press down on the pastel either.
Step 6
Smudge the colours together. I started at the outside and smudged inward because I wanted the dark to sort of drag and blend with the light colour.
Oh look, one ear on poor lopsey reindeer.
Step 7
Cut out your hooves and nose. I added a white shine to my nose using watercolour paint that was not diluted very much. After its dry again, glue the nose onto the reindeer.
Step 8
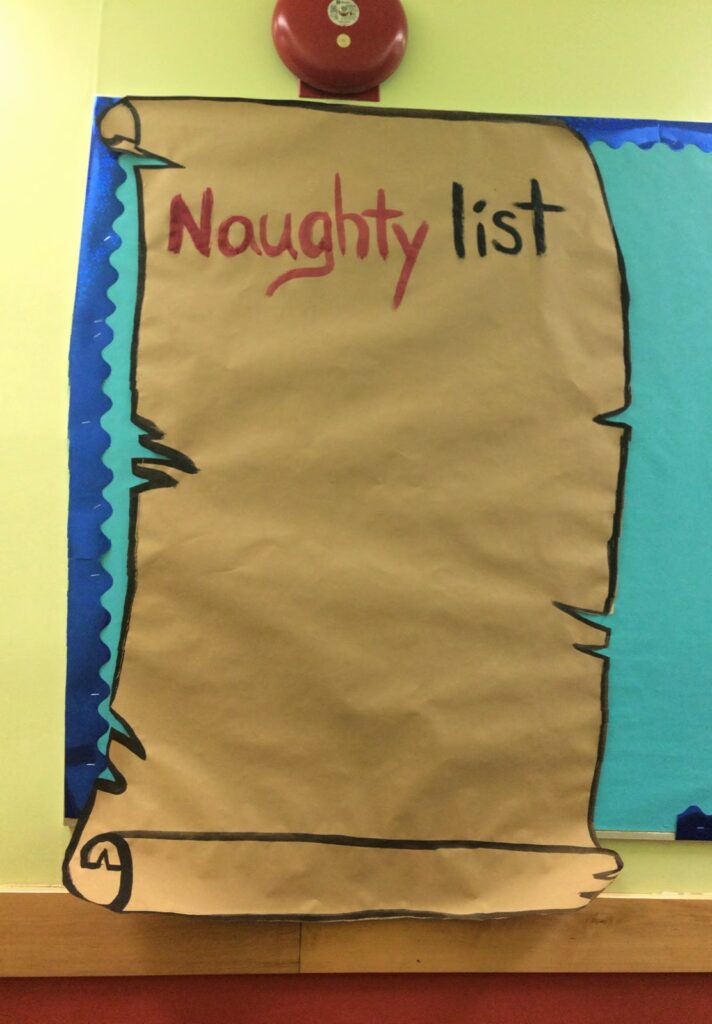
You will need to have your writing prompt finished for this part. Once you have your “reasons why Rudolph is on the naughty list this year” writing job done, you can glue the hooves and the head onto it.
Step 9
Take a pipe cleaner and bend it about half way up kind of the shape of a lightning bolt. I used 2 pipe cleaners for each antler. 1 was cut in half and twisted around in 2 different places. I hope that makes sense. I used my ‘crop a dile’ to make 2 small holes on the head to insert the pipe cleaners.. but you can just punch a small hole using a hole punch or a pair of scissors (if you feel brave).
Hope you enjoy this art project. It’s a lot of fun, and looks so wonderful up on the wall!
If you want the templates for this project, they are available on my TpT store 🙂
Thanks!
