MOST of the words on my word wall were printed from my Word Wall Portable Word Wall Set, but you could just as easily upgrade your current word wall to this system OR even just write the words on word cards like I did for many, MANY of my words. I would re-do all my word wall cards so that they are matchy-matchy, but really? Ain’t nobody got time for that!
Now for the good part! Let’s create your portable word wall!
How to Assemble the Cards:
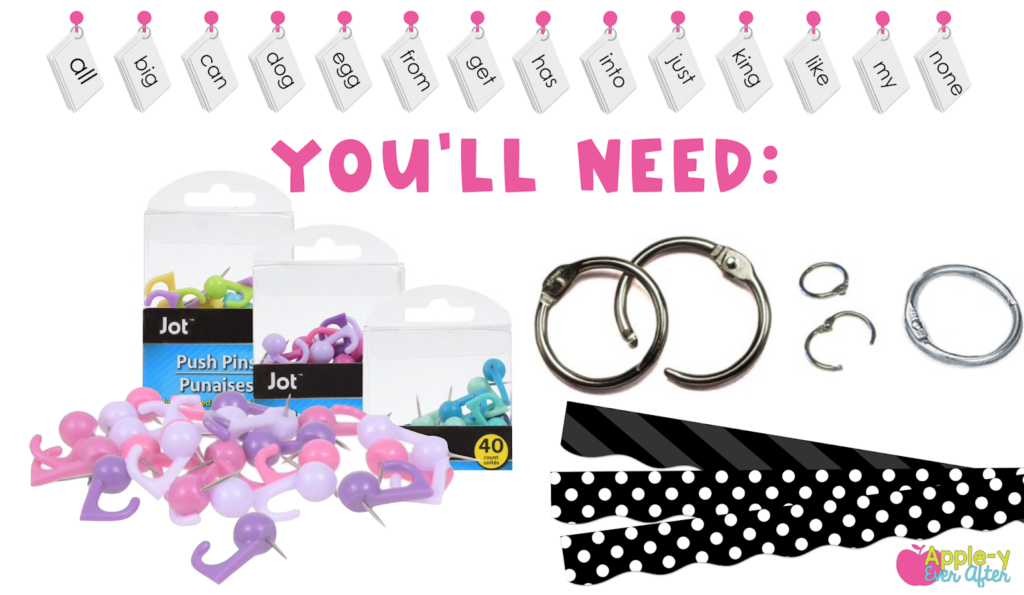
1.) You will need *at least* 26 small binder rings and some small hook thumb tacks. I got mine at dollar tree but you can also find them on Amazon. You will need more if you plan to do theme words like seasonal words that you change out etc.
2.) Word Wall Cards
3.) Print and laminate your cards, then cut them out into cards.
4.) Use a hole punch to create a hole for your binder ring.
5.) Attach all words that begin with the same letter to your binder ring.
6.) Repeat for all the letters in the alphabet.
How to Create the Bulletin Board:
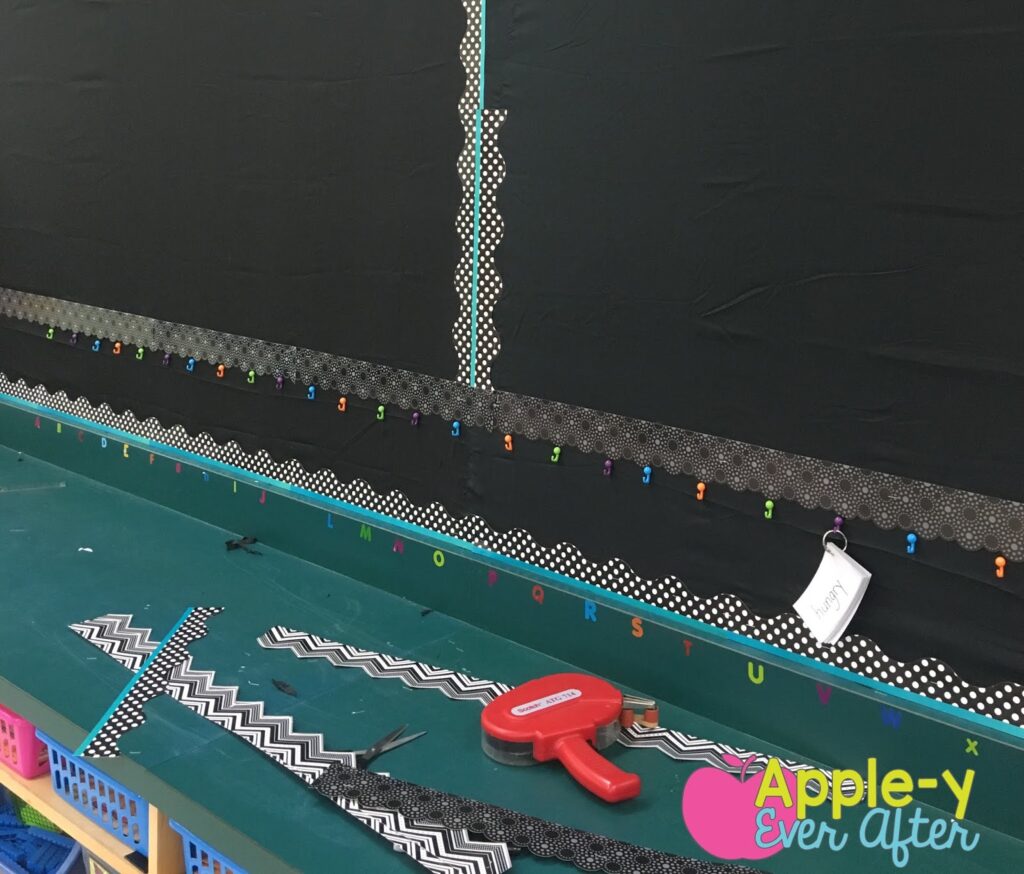
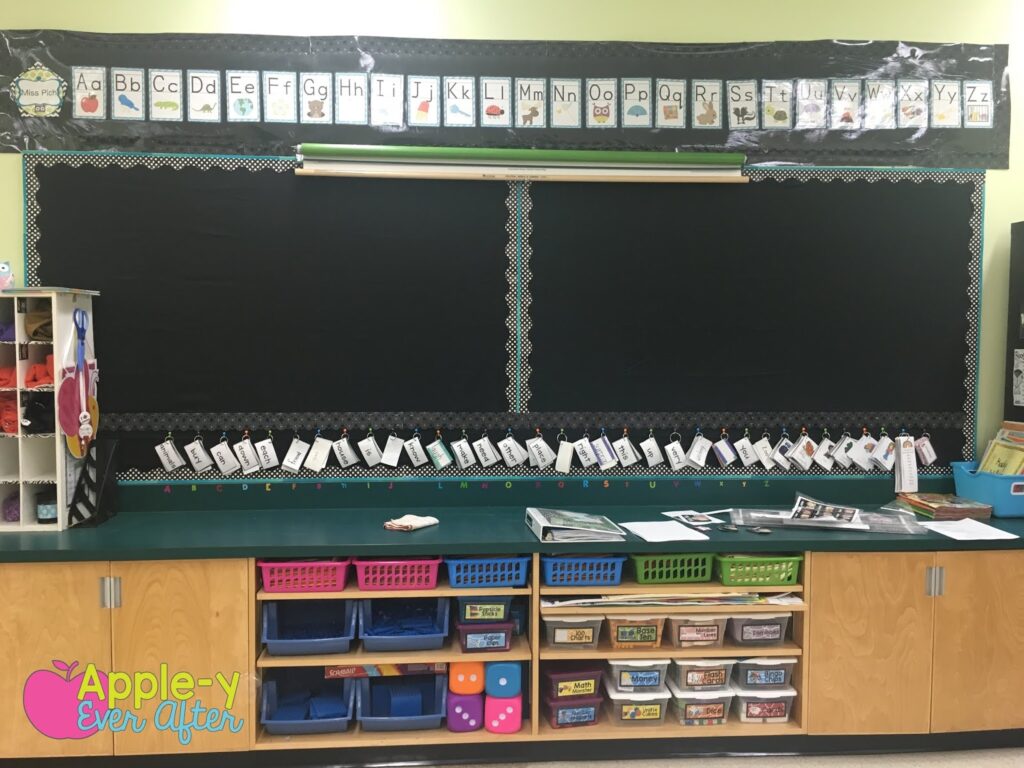
1.) First, measured the section of bulletin board that I would need for my cards to fit. I sectioned off the bottom portion of my bulletin board by putting a border above where my cards are.
2.) I placed a hook thumb tack in each of the grooves on the bulletin border. Here is an example of what I mean.
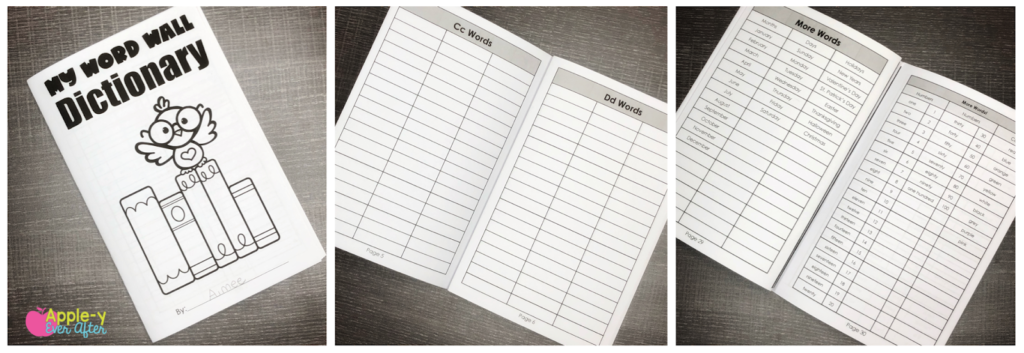
Another thing that I love to do to ensure that students use their words and that they always have them on hand is for them to copy them down in their Word Wall Dictionary! Here is an example of my FREE word wall dictionary below!
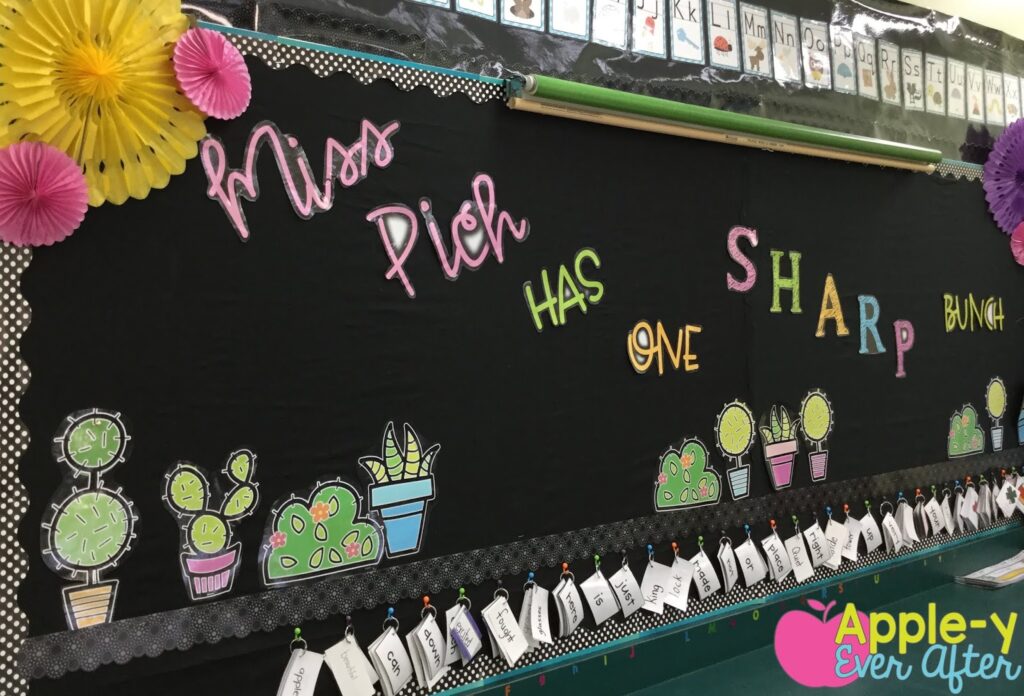
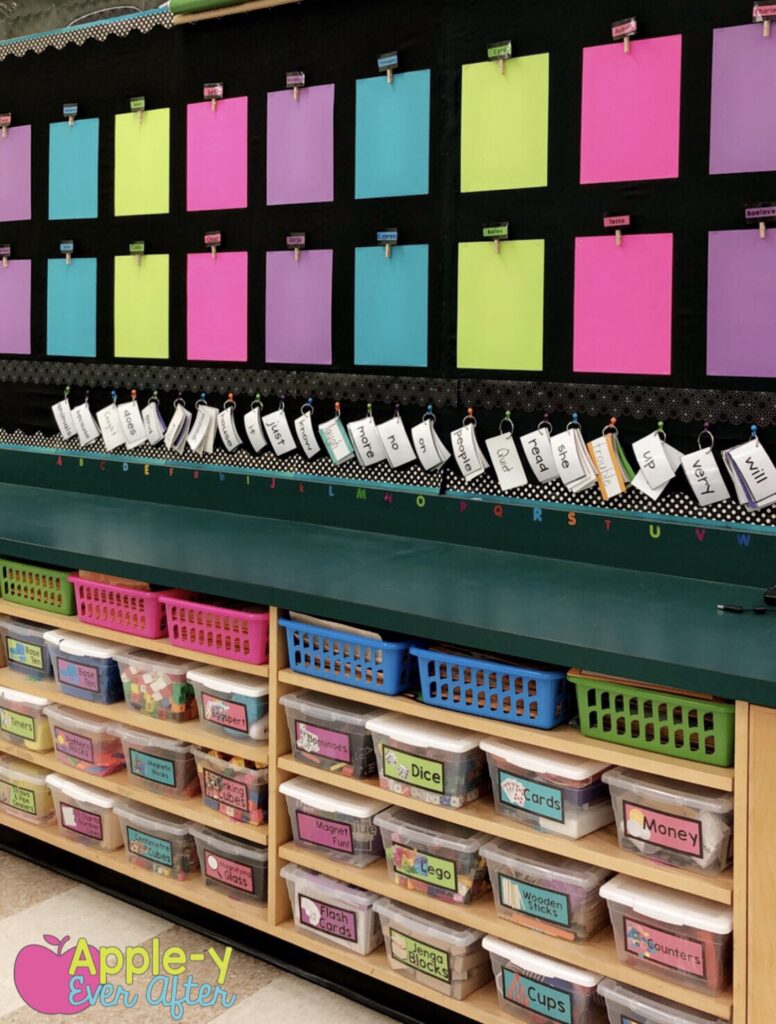
Here is another look at what my word wall looks like up close!







One Comment